Plasmo Content Script UI Injection Practical Guide
While exploring the Plasmo framework, I discovered that the with-content-scripts-ui example project is particularly valuable—it comprehensively demonstrates how to inject React UI components into web pages using content scripts. Let’s dive into the implementation details and practical techniques of this project.
Project Overview
with-content-scripts-ui is a Plasmo extension example specifically designed to demonstrate content script UI injection. This project is configured with the necessary permissions to inject UI components on any HTTPS website, making it ideal for learning various injection patterns.
Four Core Injection Patterns
1. Overlay Pattern
This pattern is suitable for creating fixed-position floating components like notifications, toolbars, etc:
// contents/plasmo-overlay.tsx
export const config: PlasmoCSConfig = {
  matches: ["https://www.plasmo.com/*"],
  css: ["font.css"]
}

export const getStyle = () => {
  const style = document.createElement("style")
  style.textContent = cssText
  return style
}
Key Points:
- Use
getStylefunction to inject custom styles - Reuse styles through CSS files
- Fixed positioning, independent of page elements
2. Inline Pattern
The inline pattern is practical when you need to embed components at specific locations within the page:
// contents/plasmo-inline.tsx
export const getInlineAnchor: PlasmoGetInlineAnchor = () =>
  document.querySelector(`[href="/#pricing"]`)

export const getShadowHostId = () => "plasmo-inline-example-unique-id"
Use Cases:
- Add action hints next to buttons
- Insert additional information near links
- Components that need tight integration with page elements
3. Root Container Pattern
For complex scenarios requiring waiting for target elements to appear, the root container pattern provides better control:
// contents/plasmo-root-container.tsx
export const getRootContainer = () =>
  new Promise((resolve) => {
    const checkInterval = setInterval(() => {
      const rootContainerParent = document.querySelector(`[href="/docs"]`)
      if (rootContainerParent) {
        clearInterval(checkInterval)
        const rootContainer = document.createElement("div")
        rootContainerParent.appendChild(rootContainer)
        resolve(rootContainer)
      }
    }, 137)
  })
Advantages:
- Supports asynchronous waiting for target elements
- Customizable container creation logic
- Suitable for dynamically loaded pages
4. Anchored Overlay Pattern
This pattern combines the flexibility of overlays with the precise positioning of inline components:
// contents/plasmo-overlay-anchor.tsx
export const getOverlayAnchor: PlasmoGetOverlayAnchor = async () =>
  document.querySelector(`h1`)

export const watchOverlayAnchor: PlasmoWatchOverlayAnchor = (updatePosition) => {
  const interval = setInterval(() => {
    updatePosition()
  }, 420)
  return () => clearInterval(interval)
}
Special Features:
- Supports dynamic position monitoring
- Components follow anchor elements as they move
- Ideal for floating components requiring real-time updates
Technical Implementation Deep Dive
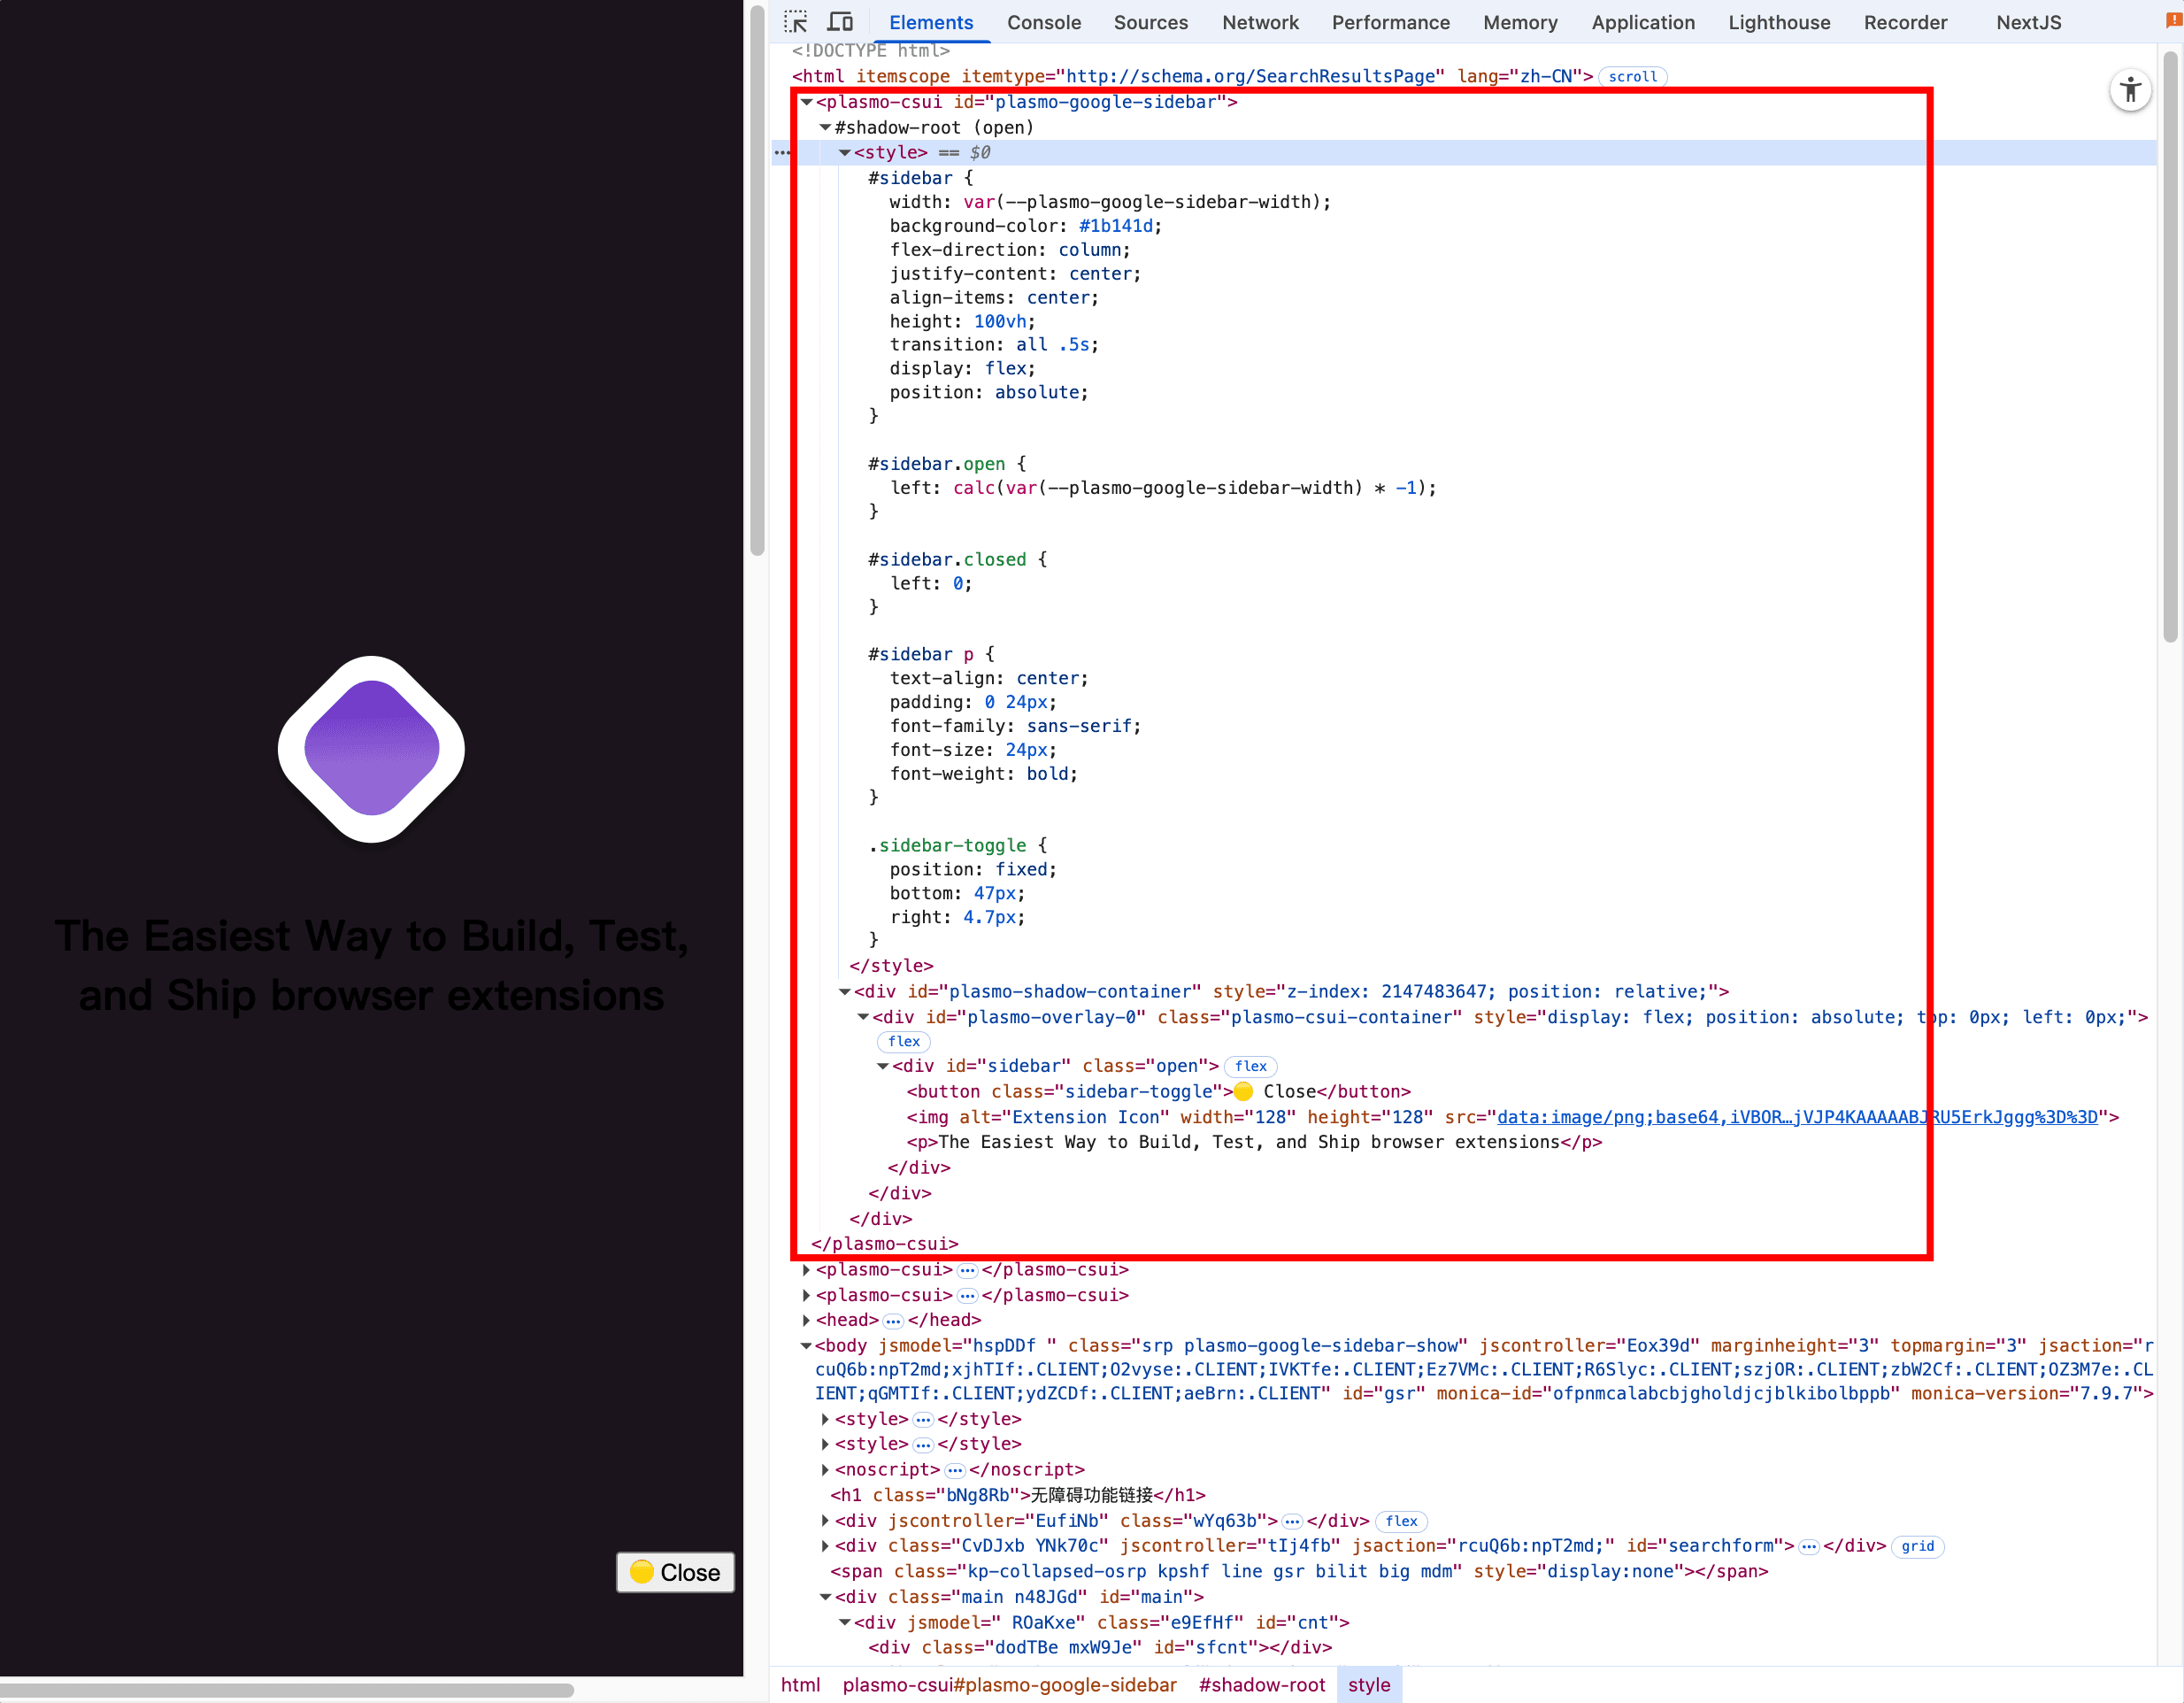
Shadow DOM Style Isolation
Plasmo implements style isolation through Shadow DOM, which is crucial for avoiding conflicts with page styles:
// Automatically created Shadow Host
const shadowHost = document.createElement("plasmo-csui")
shadowHost.id = getShadowHostId()
document.body.appendChild(shadowHost)

// Create Shadow Root
const shadowRoot = shadowHost.attachShadow({ mode: "open" })
Component Mounting Process
The entire injection process can be summarized in these steps:
- Permission Check: Verify if the current page matches configured URL rules
- Container Creation: Create appropriate DOM containers based on the pattern
- Style Injection: Insert component styles into Shadow DOM
- React Rendering: Mount React components using
createRoot - Event Binding: Set up necessary interactions and lifecycle management
Configuration Independence
Each content script has independent configurations that don’t interfere with each other:
// Each file can have its own configuration
export const config: PlasmoCSConfig = {
  matches: ["https://www.plasmo.com/*"],
  run_at: "document_idle"
}
Practical Application Scenarios
Scenario 1: Page Enhancement Tools
For example, adding price comparison functionality to e-commerce websites:
// Inject price comparison component on product pages
export const getInlineAnchor = () =>
  document.querySelector(".product-price")
Scenario 2: Development Assistance Tools
Add debugging panels to websites under development:
// Show debugging tools only in development environment
export const config: PlasmoCSConfig = {
  matches: ["http://localhost:*/*", "http://127.0.0.1:*/*"]
}
Scenario 3: Content Annotation Systems
Add commenting and annotation features to documentation websites:
// Add annotation buttons next to article paragraphs
export const getOverlayAnchor = () =>
  document.querySelector("article p")
Best Practice Recommendations
1. Choose the Right Injection Pattern
- Simple Notifications → Overlay Pattern
- Page Integration → Inline Pattern
- Dynamic Content → Root Container Pattern
- Following Elements → Anchored Overlay Pattern
2. Performance Optimization Techniques
// Use debouncing to avoid frequent updates
const debouncedUpdate = useDebounce(updatePosition, 100)

// Lazy load heavy components
const HeavyComponent = React.lazy(() => import('./HeavyComponent'))
3. Error Handling Strategies
export const getRootContainer = () =>
  new Promise((resolve, reject) => {
    const timeout = setTimeout(() => {
      reject(new Error("Target element loading timeout"))
    }, 5000)

    // ... normal container creation logic
  })
Frequently Asked Questions
Q: How to resolve style conflicts?
A: Plasmo’s Shadow DOM already provides excellent style isolation. If conflicts persist, you can use CSS Modules or more specific selectors.
Q: How do components communicate with the page?
A: Secure communication can be achieved through window.postMessage, Custom Events, or Plasmo’s Messaging API.
Q: Is the performance impact significant?
A: With proper usage, the impact is minimal. Avoid running complex components on numerous pages and use conditional matching to reduce unnecessary injections.
Q: Does it support Vue or other frameworks?
A: Plasmo is primarily optimized for React, but theoretically supports other frameworks through custom rendering.
Conclusion
The with-content-scripts-ui example project is truly valuable for learning—it showcases Plasmo’s powerful capabilities in UI injection. Each of the four injection patterns has its unique characteristics and can be flexibly chosen based on specific requirements.
In actual development, I’ve found that this modular design significantly simplifies code maintenance. Each feature can be developed and tested independently, greatly improving development efficiency.
If you’re also using Plasmo for browser extension development, I strongly recommend studying this example project carefully. Feel free to share any questions or insights—let’s discuss and learn together!
Related Resources